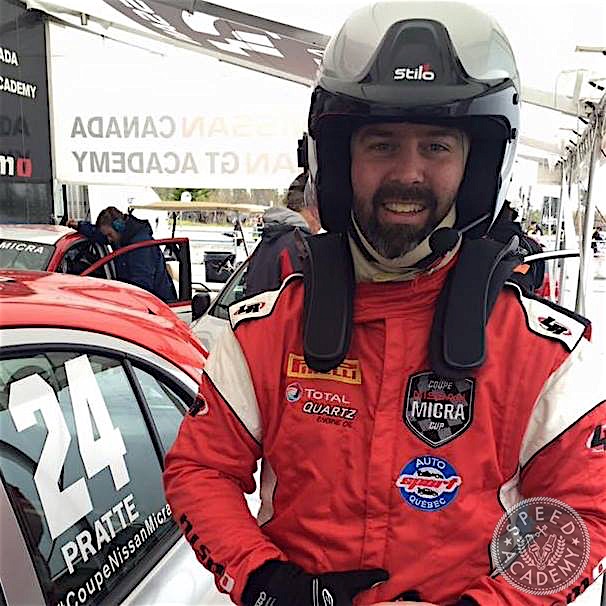
When you think race car, the first image that comes to mind probably isn’t the least expensive new car on sale in Canada today, but for me that all changed as I was strapped into the #24 car for the first practice session of the 2016 Nissan Micra Cup season.
![Nissan-Micra-Cup-Calabogie-2016-54]()
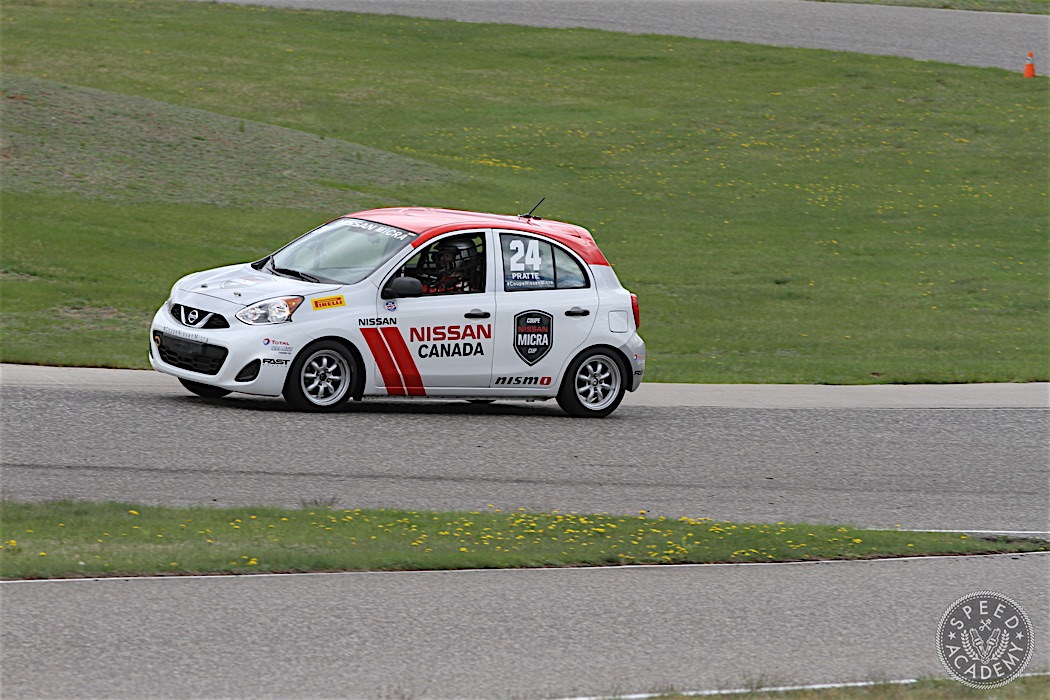
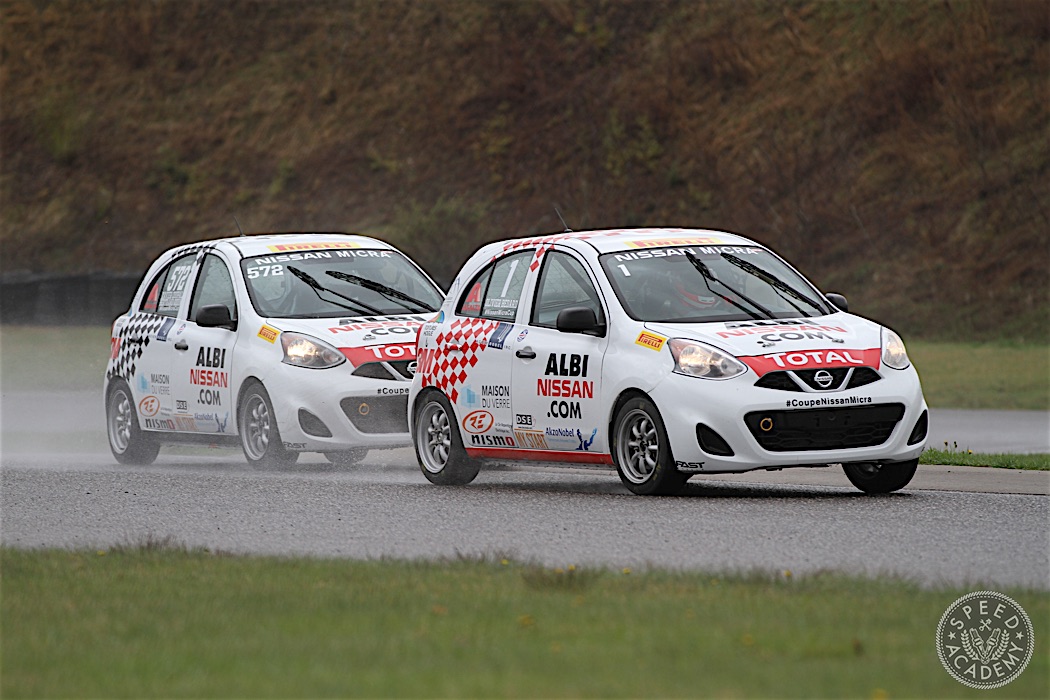
Given the modest 109-horsepower 1.6-liter engine under the hood and how closely these little race cars resemble the road-going version, I wasn’t expecting to be thrown around by big power or extreme g-forces, but that’s clearly not the point of spec racing in an entry-level hatchback like the Micra. This series is all about highly competitive racing and low running costs, and as I found out during three drama-filled days at Calabogie Motorsports Park, the first Ontario race in series history, the Micra Cup delivers big-time fun and a far more challenging driving experience than I expected.
![Nissan-Micra-Cup-Calabogie-2016-16]()
THE BIRTH OF A SPEC RACING SERIES
It’s not every day an automaker gets behind a racing series to the extent that Nissan Canada has with the Micra Cup, which started in 2015 under the leadership of Jacques Deshaies, who in 2014 pitched Nissan on the idea of a truly affordable spec racing series based in Quebec. A three-year partnership was forged between JD Motorsport and Nissan Canada, with Jacques and his team running the series and Nissan Canada providing technical support along with Marketing and PR services that tie into their global motorsport initiatives including the GT Academy program (where Sony Playstation Gran Turismo players compete for the chance to become a real-life professional racing driver).
![Nissan-Micra-Cup-Calabogie-2016-49]()
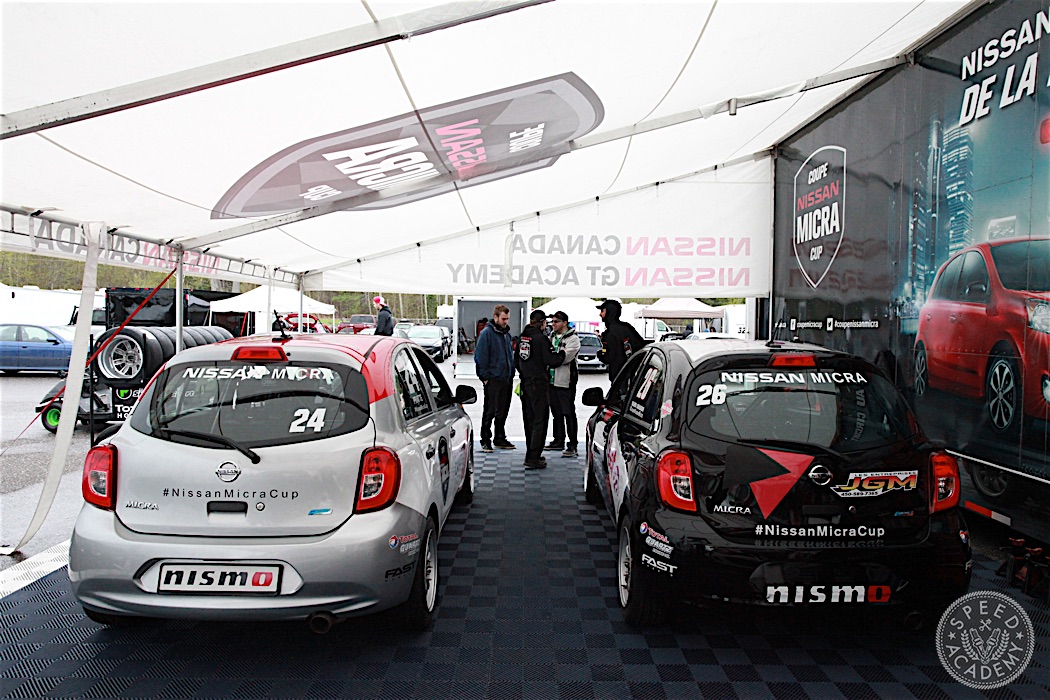
With 25 cars in attendance at Calabogie, the Micra Cup has quickly established itself as a leading option for racers in Quebec and Ontario looking for the unique challenges presented by mono spec racing. And to the credit of JD Motorsport and Nissan, the series presents itself in a truly professional manner, with all the drivers wearing matching series specific racing suits and all of the cars being identically race-prepared by Motorsport In Action out of St. Eustache, Quebec. There’s even a VIP hospitality suite set up to feed series officials, journalists and other guests of Nissan and the series.
![Nissan-Micra-Cup-Calabogie-2016-26]()
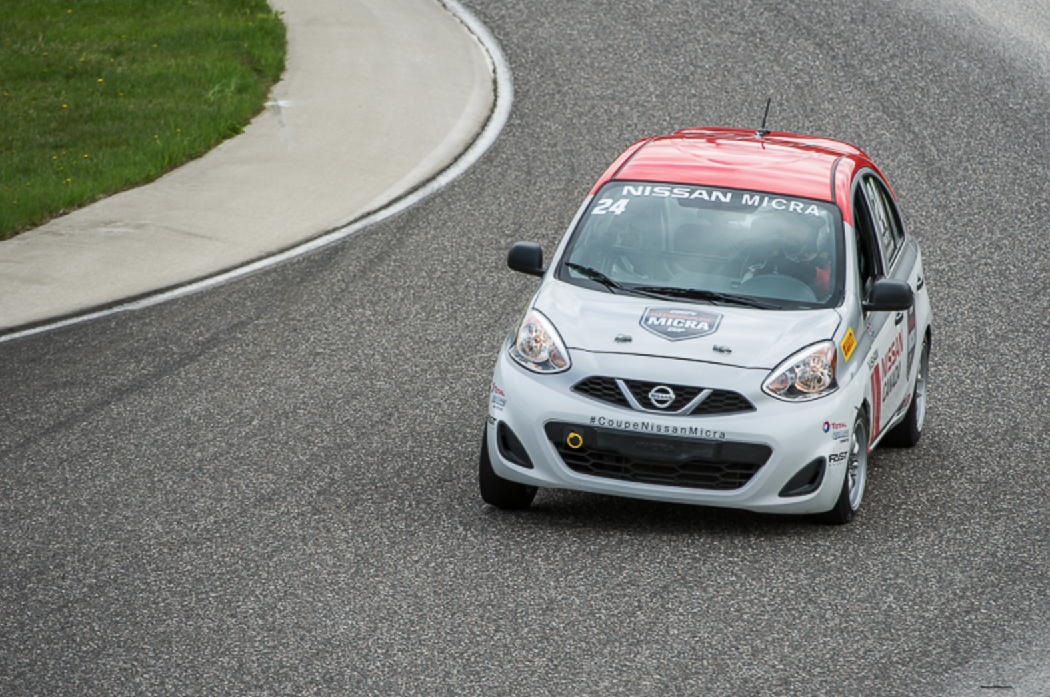
THE CAR
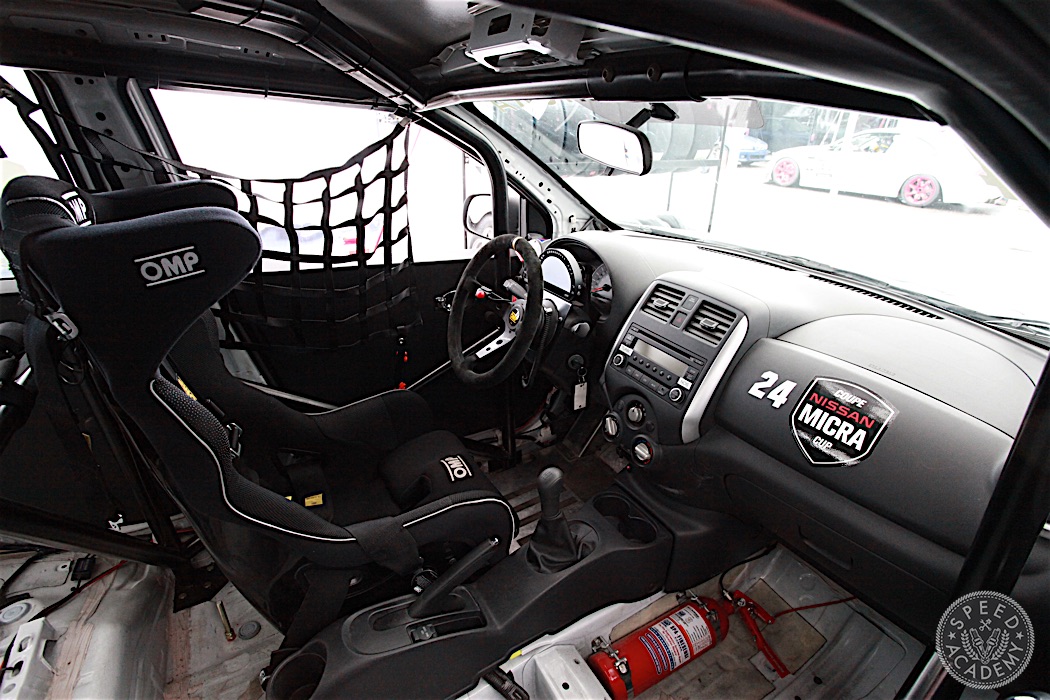
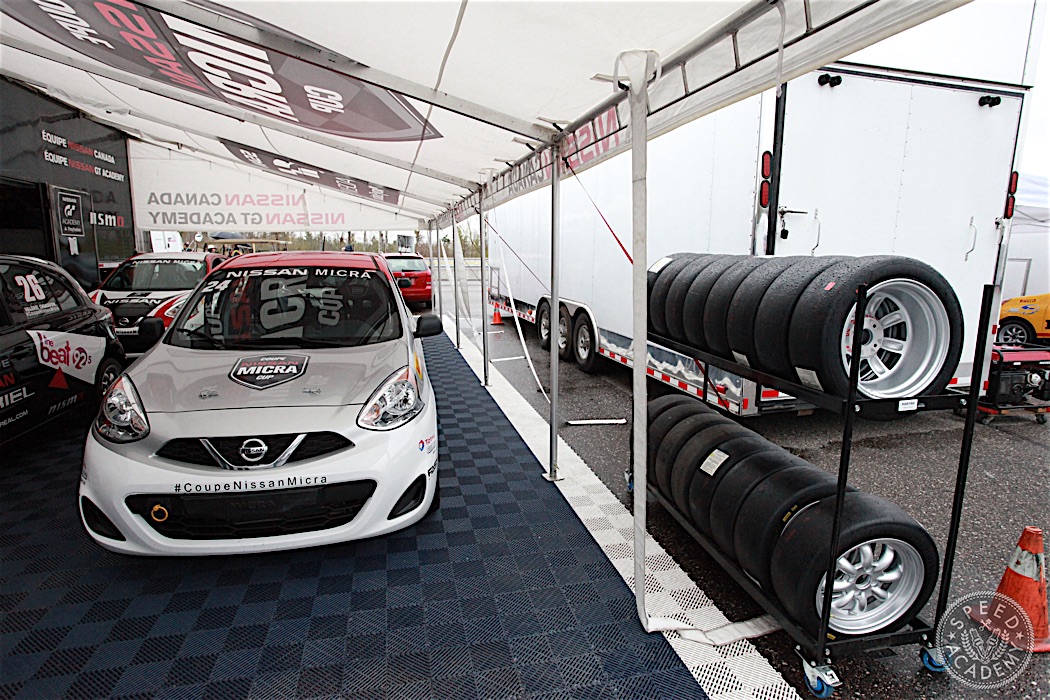
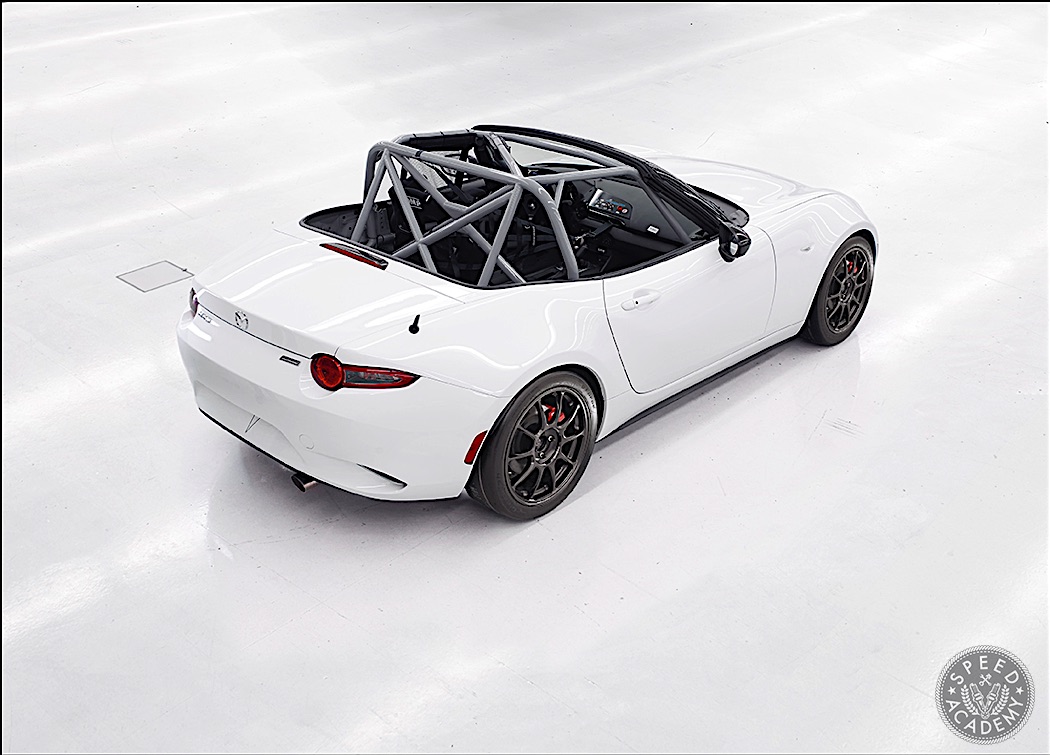
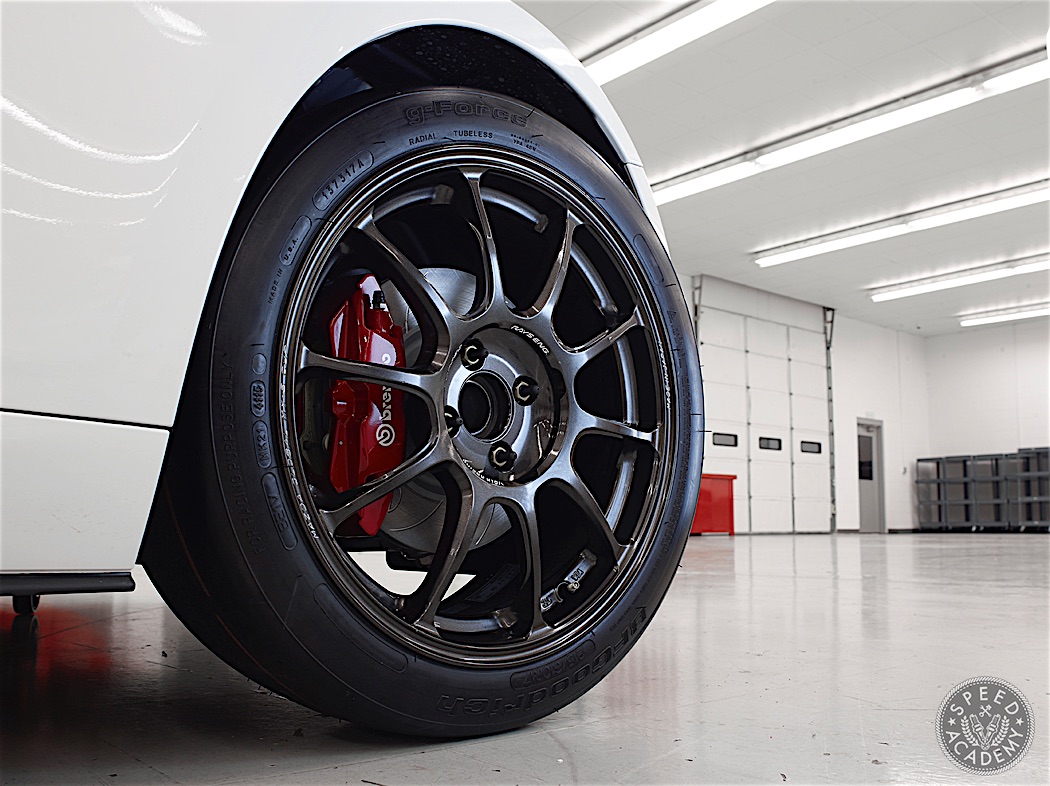
Based on the 2016 Micra S base model, which has an astonishingly low MSRP of $9,998 with a 5-speed manual transmission, manual windows and no air-conditioning, a fully turnkey Cup car will cost you a little over $20,000. That extra 10-grand gets you a relatively simple yet highly effective set of upgrades, including all the required safety gear to meet FIA specifications, along with a NISMO S-Tune suspension kit, race-grade brake pads and front rotors, a modified exhaust system to give it that racecar sound, and a set of Fast Wheels wrapped in Pirelli racing slicks (or racing rain tires, as I would soon find out).
![Nissan-Micra-Cup-Calabogie-2016-21]()
After a full season of racing in 2015, the reliability and durability of the Micra Cup cars have proven to be top notch. In fact, the #24 car I was driving, owned by Nissan Canada but maintained and campaigned by GT Racing out of Mirabel, Quebec, was still running the original engine and transmission and felt amazingly fresh despite having been beaten mercilessly by a variety of journalists and guest drivers during the six-race 2015 season.
![Nissan-Micra-Cup-Calabogie-2016-28]()
FIRST IMPRESSIONS
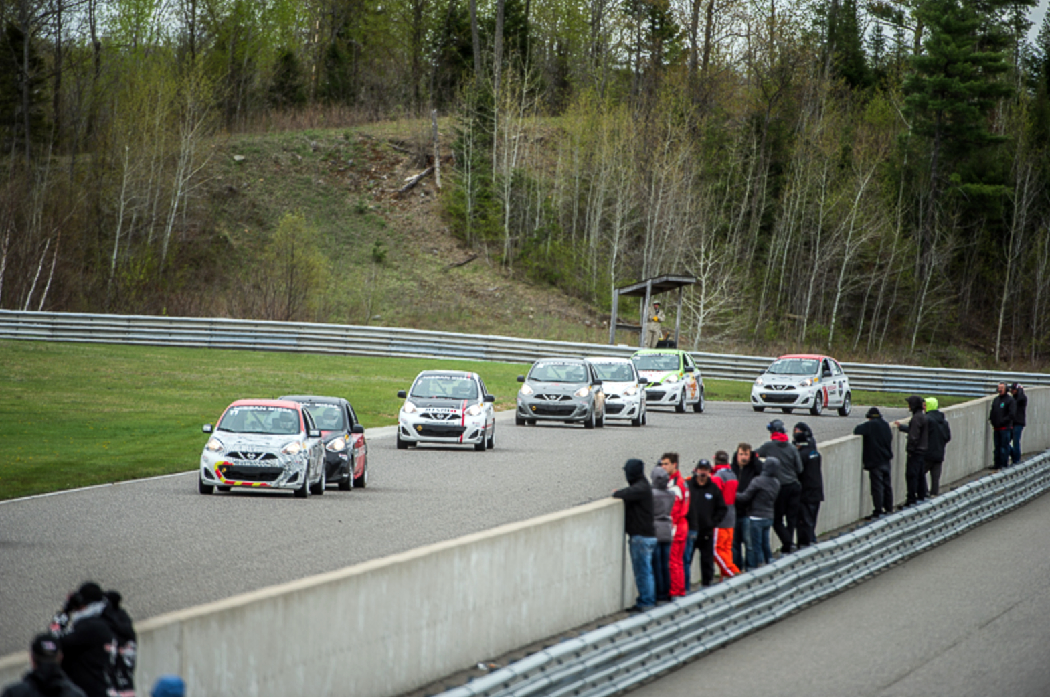
I’ve done a lot of racing in front-wheel drive hatchbacks, having campaigned a Honda Civic in the Canadian Touring Car Championship for a few years, so I had a pretty good idea how to peddle the Micra around all 20 corners at Calabogie Motorsport Park, the longest road course in Canada and one of the most challenging and enjoyable.
![Nissan-Micra-Cup-Calabogie-2016-51]() What I didn’t factor into my thinking was the open differential the Micra has in its surprisingly slick shifting 5-speed transmission. The open diff meant that managing inside front wheel spin as you get on the power while the car’s weight is transferred to the outer tire in corners is a big part of the skill set required to maintain momentum. And as 2015 series champ Olivier Bedard explained to me during a friendly chat in the paddock, maintaining every last iota of momentum is what separates the leaders from the mid-packers.
What I didn’t factor into my thinking was the open differential the Micra has in its surprisingly slick shifting 5-speed transmission. The open diff meant that managing inside front wheel spin as you get on the power while the car’s weight is transferred to the outer tire in corners is a big part of the skill set required to maintain momentum. And as 2015 series champ Olivier Bedard explained to me during a friendly chat in the paddock, maintaining every last iota of momentum is what separates the leaders from the mid-packers.
![Nissan-Micra-Cup-Calabogie-2016-08]()
I certainly found maintaining momentum in the rain surprisingly challenging, but also a ton of fun. The driving style required by the open differential combined with a fair bit of body roll and a short wheelbase is unlike anything I’ve sampled before. It also took quite a while for my brain to accept just how much grip these little Cup cars generate on the Pirelli rain tires, but once I began to adapt to the car and build confidence in the tires and chassis I was able to turn up the aggression enough to place 6th in the practice session prior to Race 1 qualifying. Not a bad start.![Pratte-Calabogie-Micra-Cup-02]()
RACECRAFT REQUIRED
I was feeling pretty confident going into qualifying, and with fresh brake pads and sticker rain tires bolted up I should have been in great shape to post a competitive time in increasingly wet track conditions. I followed GT Academy driver Nic Hammann out in his #2 Micra, as he was fastest in practice. Hoping to learn something from Nic, he pulled off after the first lap just as we caught up to a pack of cars in front of us.
The lesson I should have learned from Nic was to find space so you can put down a clean lap (Nic went on to qualify P1), but instead, I got into a prolonged battle with a couple of scrappy drivers in front of me. By the time I got past these guys there were only a few minutes left in qualifying. It was time to get my act together, and I had a great lap going when a car went off in the Quarry corner complex and I had to slow for the Yellow flag.
![Pratte-Calabogie-Micra-Cup-01]()
With one lap left before the Checker flag would drop, I carried as much speed as I could onto the front straight and had what appeared like plenty of space ahead of me for a clean lap, but a car a few hundred feet ahead got into a tank slapper on the exit of Turn 1, a very fast left-hander that can be taken nearly flat-out in the wet in these cars. The driver did a good job to lessen the impact but he went into the outside tire barrier at a decent clip. Out came the Red flag and my last chance for a decent qualifying lap was over.
![]()
Rather than improving on my P6 in practice, my willingness to spend most of the qualifying session fighting traffic instead of finding space meant I’d start Race 1 in a disappointing P16. Which just goes to show, having good pace is not enough in a mono spec series like this, where all the cars are identically prepared and passing slightly slower drivers is extremely difficult. You need to be strategic and not let your ego draw you into any time-sucking battles when the race isn’t for position yet.
![Nissan-Micra-Cup-Calabogie-2016-10]()
PATIENCE IS A VIRTUE
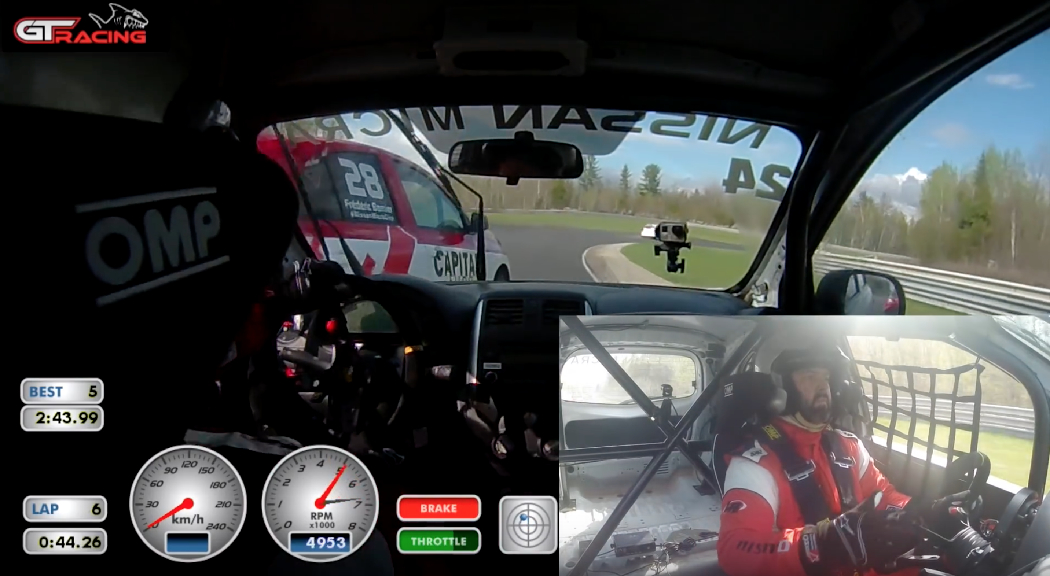
The rain was still falling pretty heavily at the start of Race 1, and despite my poor qualifying session, I was feeling optimistic about my chances of moving forward during the race given my pace during practice. I got off to a decent start but was passed aggressively by Fred Bernier in the #28 car on the inside of the reducing radius corner called Temptation.
That corner might have been called Foreshadowing since a few laps later I had moved forward a few positions only to find myself on Bernier’s bumper. Following him around for a couple laps I felt like he was braking early and leaving room on the inside of Turn 5 at the end of the long Rocky Road straight.
![Micra-Cup-Calabogie-In-Car-01]()
Rather than patiently waiting for Bernier to make a mistake or for a spot where I got a really good run on him, I decided to tempt fate with a late braking pass into Turn 5. Bernier drove his line and I couldn’t get the car slowed enough after I realized there was no chance to get inside him cleanly, resulting in a pretty heavy hit that left me in the weeds with a cut tire, broken wheel and bent front control arm.
I parked the car a safe distance off the track and did the walk of shame to the nearest Marshal stand, where I watched the rest of the race from. The Marshals were gracious hosts, and I have to say it was impressive to see how fast the leaders were through The Crown and The Brow (Turns 10 and 11), a high-speed off-camber double right-hander. These little Micras are super fast in the rain, turning lap times that were better than many of the GT and Touring cars that were sharing Calabogie with us this weekend.
![Nissan-Micra-Cup-Calabogie-2016-02]()
HOW TO EAT HUMBLE PIE
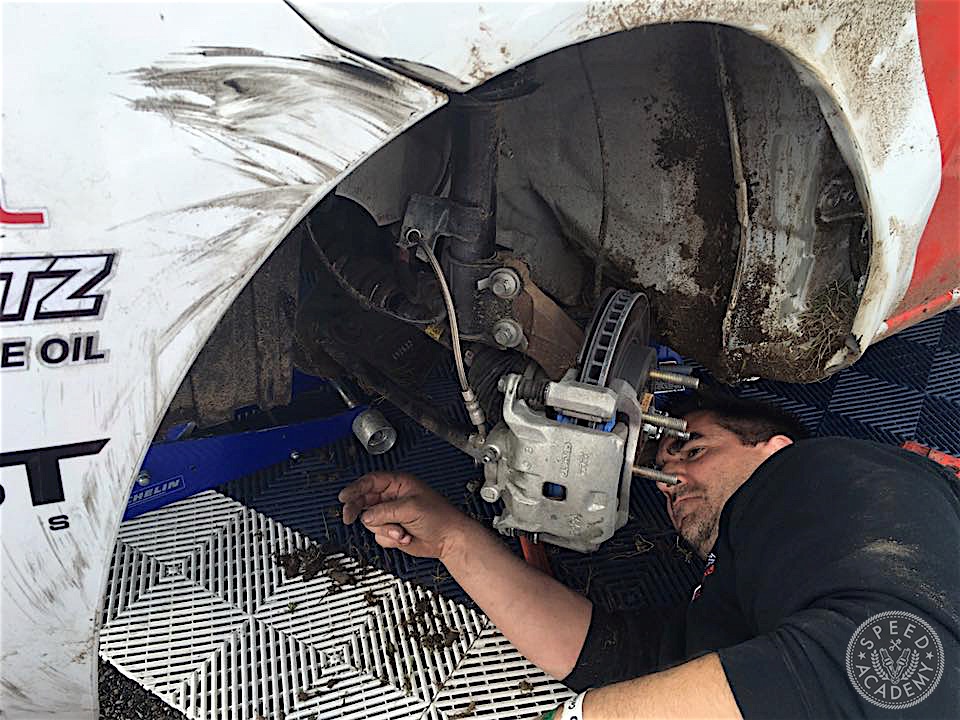
With the race complete I hitched a ride back to the paddock, where I made my sincerest apologies to the Nissan folks and the GT Racing crew who’d have to replace the bent control arm and broken wheel. Yannick the mechanic and data engineer at GT Racing had the car looking like new in no time, and from what I was told, the control arm cost about $40 to replace and the wheel only a bit more, so the low running cost associated with a car that’s only $10,000 brand new really came into focus for me.
![Micra-Cup-Calabogie-In-Car-02]()
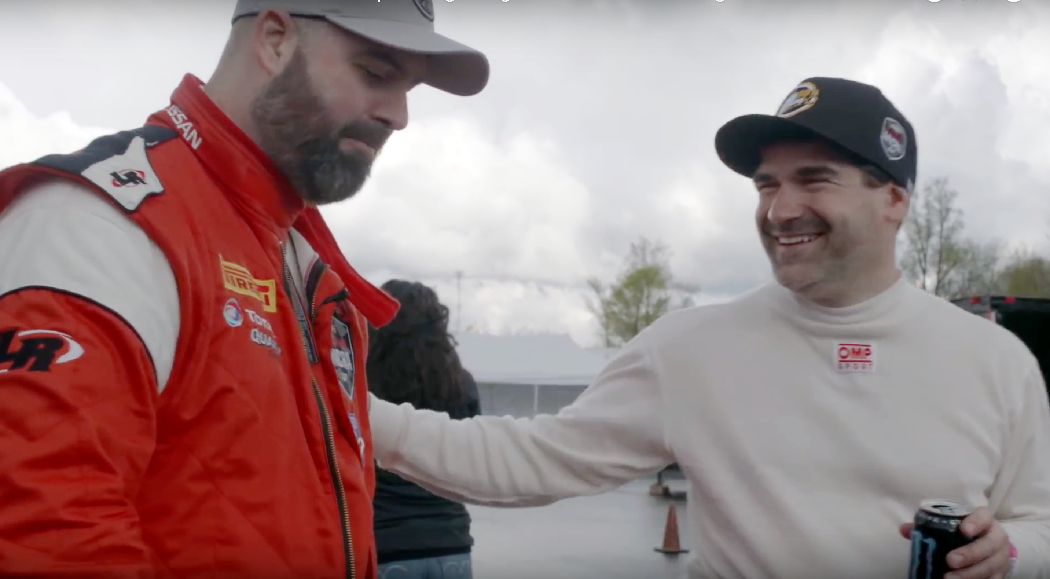
I also owed Bernier an apology, since my dive-bomb attempt into Turn 5 cut his rear passenger side tire and ended his race prematurely. He was very understanding about it, even sharing a story with me how he tried a similarly ill-advised pass last season and took himself and the car ahead out of the race in the process.
Completing my meal of humble pie was a visit from the series officials, who informed me that I’d be starting Race 2 from the back of the pack since the contact I made with Bernier’s car took him out of the race. I had no objections to their ruling, determined to accept the lessons that spec racing can and will teach you, especially if you get impatient the way I did.
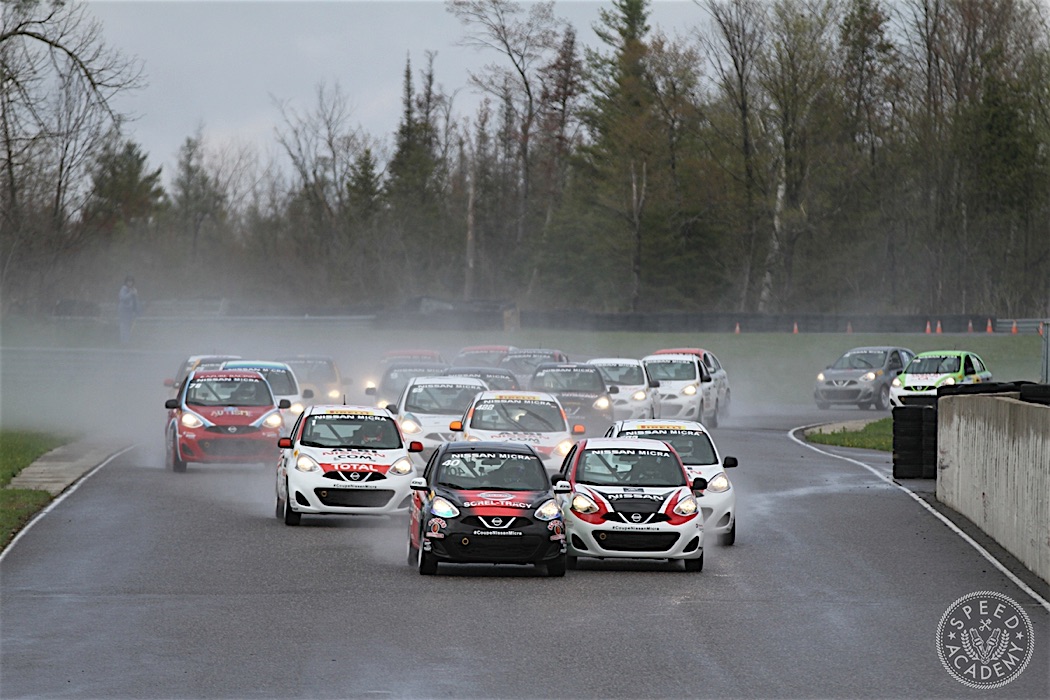
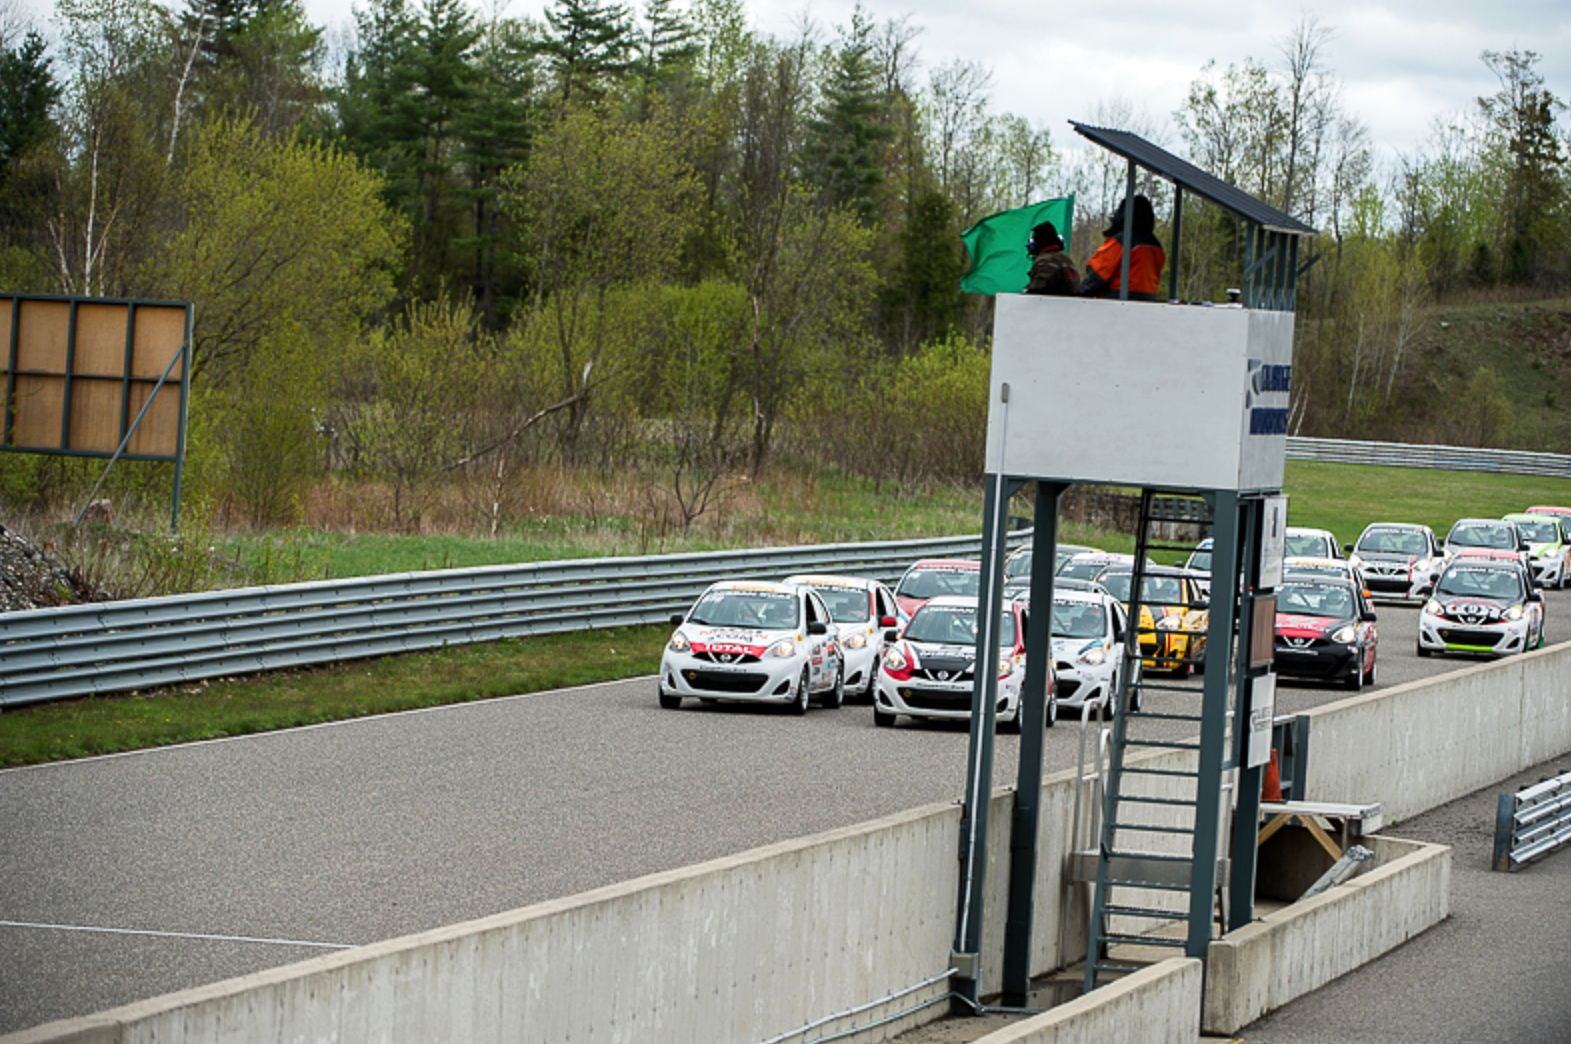
NO ROOM FOR MISTAKES
With 25 mono spec racecars competing for space into the flat-out wall-lined left-hand Turn 1, there’s always the potential for something nasty to happen here. Had I started in P9 where I qualified prior to Race 2, I would have been right in the middle of one of the most spectacular race crashes I’ve ever seen. Several videos of the wreck were posted online, including the one above that gives you a trackside view of the massive seven-car pileup that resulted in a bunch of heavily damaged Micras but no injured drivers, proving just how good the safety package is in these tough little Cup cars.
Having started from the back, I tiptoed through the debris field and then waited for the cleanup and safety crews to work their magic. I wasn’t sure if we’d get any racing in, but once the track was clear we snuck in a five lap race, which proved to be great fun in dry conditions. You really have to manage wheel spin even more on the slicks than on the rain tires, and the higher grip level means you can find some serious speed in the faster corners.
![Micra-Cup-Calabogie-Race-Start-01]()
When the Checker flag dropped I finished P10, feeling blessed by the opportunity to sample spec racing and to have avoided the big wreck during the race start. Maybe that boneheaded passing attempt the day before that put me to the back of the pack for Race 2 saved me from a much bigger wreck? The racing gods work in mysterious ways.
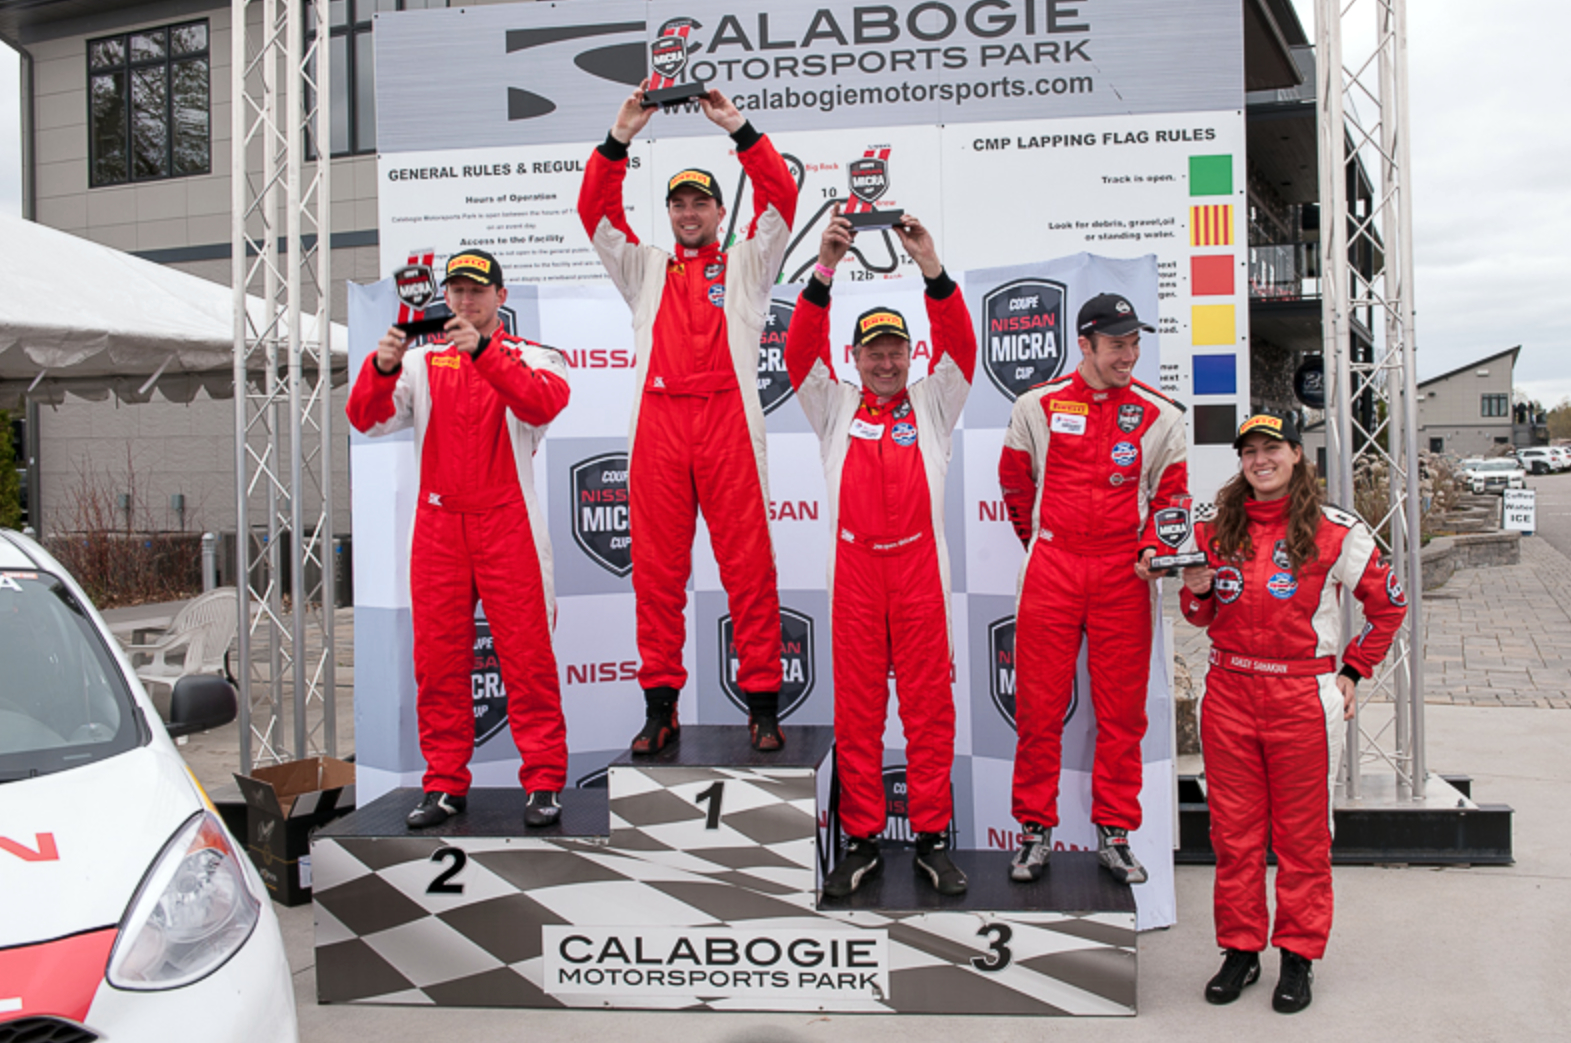
![Micra-Cup-Calabogie-Winners-01]()
THE BIG TAKEAWAY
What I didn’t take away were any trophies or prize money (and the series does have some nice payouts to the Top 3 finishers in each race: $1500 for the winner, $750 for 2nd, $450 for 3rd and $300 for Top Rookie, plus Nissan Canada awards $7,000 to the series champion, $3,500 for 2nd, $2,000 for 3rd and $1500 for Top Rookie at the end of the season). But I did take away a new respect and appreciation for the challenges presented by spec racing and for the enjoyment the Nissan Micra delivers despite its humble origins. I don’t think I’ve ever had more fun in a racecar, and I’ve competed in some pretty fast and pretty pricey machinery over the years.
![Nissan-Micra-Cup-Calabogie-2016-07]()
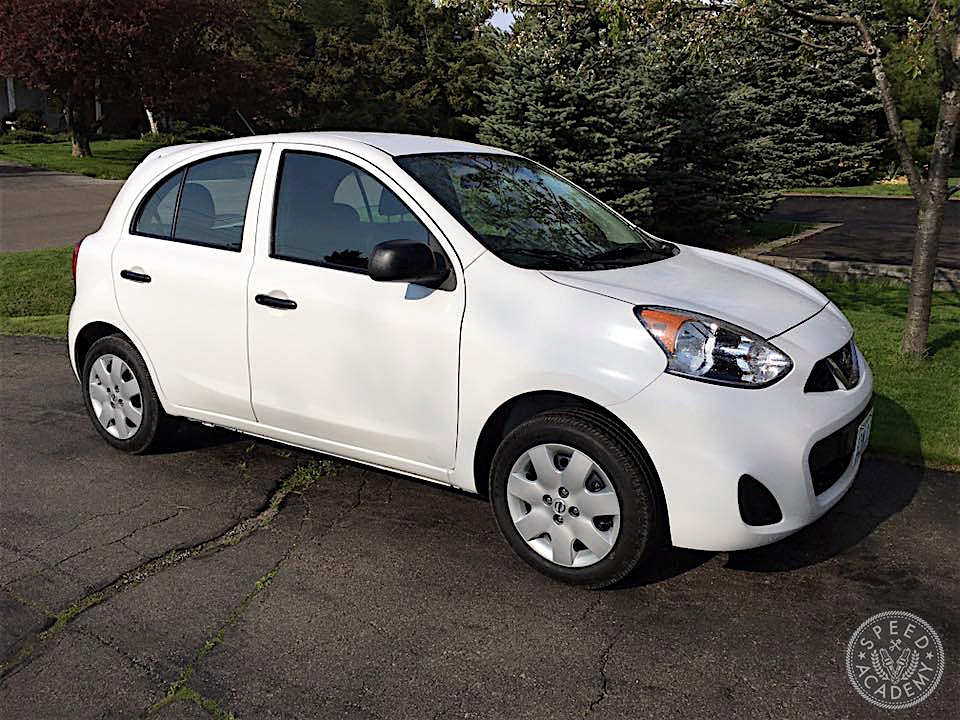
In fact, I enjoyed driving the Cup car so much, I borrowed a Micra S road car for a week to see how it compared. Without the slightest embellishment, I can say the Micra S is a surprisingly fun car to rip around town in. It has a delightfully plucky character to it, willing you to give it a good thrashing at road-legal speeds. The steering is light and precise, the turn-in response sharp, and the engine torquey and happy to rev out to its 6,500 RPM redline.
In many ways, it reminds me of the Hondas of the ‘80s and ‘90s that drew me into racing as a younger man with their light, nimble, and exuberant nature. The Micra is a throwback in all the right ways for me, from the crank handle windows to the spartan but comfortable interior. It’s everything a front-wheel drive hatchback enthusiast like me wants and nothing I don’t. The Micra S is simplicity in the most enjoyable sense and I would gladly daily drive one and laugh all the way to the bank with the money saved in the process.
![Nissan-Micra-Cup-Calabogie-2016-05]()
Photo credit: AutoMotoFoto.net
Oh, and just in case you missed it our YouTube channel, check out the video below covering my entire weekend of Micra Cup fun.